A photo can make facial proportions easier to compare, provided the camera has not changed the proportions you are trying to study. A close selfie, tilted chin or hidden hairline can push the same face toward different shape labels. Before uploading a photo to a face shape calculator, I would spend a few minutes making a plain reference image. The aim is a repeatable view of your outline, with enough detail to place landmarks and enough distance to avoid an exaggerated centre of the face.
Choose camera distance before adjusting the lens
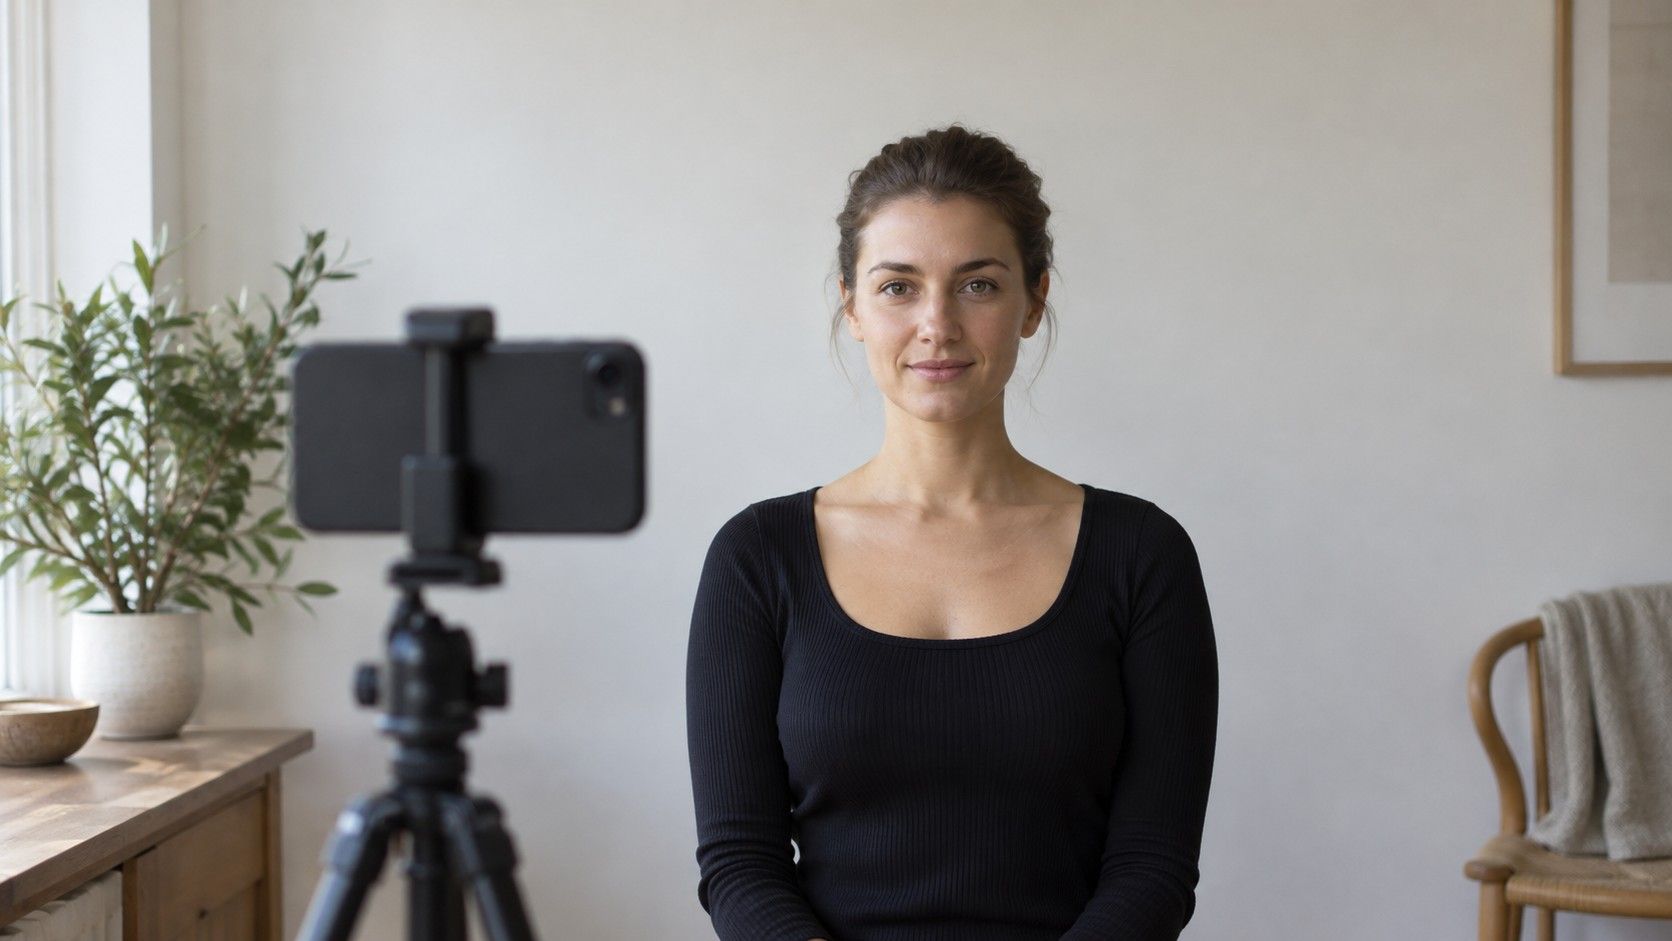
Start with the phone supported at roughly face height and step back. A photograph taken at arm's length places the nose much nearer the camera than the ears and outer cheeks. That difference in distance changes their apparent size. Moving farther away reduces this effect; cropping the resulting picture afterwards is usually more useful than filling the frame with your face from close range. Make sure the uncropped image still contains enough detail to see the chin and hairline.
A distance of roughly one and a half to two metres is a practical starting point in a room, rather than a guarantee of perfect proportions. Use a timer or ask someone to take the picture so you do not lean forward to reach the shutter. If space is tight, choose the longest comfortable distance and record it for the next attempt. Consistency matters more than pretending a bedroom photograph is a calibrated measurement.
Changing to a longer lens can help you frame the face from farther away, but the lens label alone does not solve perspective. If you stay in the same place and zoom in, you have mainly changed the framing. Avoid an ultrawide setting that requires you to stand close, and keep your face near the centre of the picture. Turn off beauty filters, face reshaping and portrait effects that may soften or alter the edge you need to examine.
Keep the head level and the whole outline visible
Look straight toward the camera with your shoulders relaxed. Turning slightly sideways makes one cheek narrower in the image; lifting the chin changes how much of the jaw and lower face you can see. A useful check is whether both ears are similarly visible and the eyes appear approximately level. Natural asymmetry means they will not match perfectly, so resist twisting your head to force a mirror-image result.
Keep a neutral expression with the mouth comfortably closed, without clenching. A broad smile lifts and widens the cheeks and changes the lower outline. Take a separate smiling picture if you want to assess how glasses look in everyday life, but use the neutral one for your initial proportion comparison. I find it easier to relax after taking several ordinary frames than after holding a rigid pose for a single supposedly perfect shot.
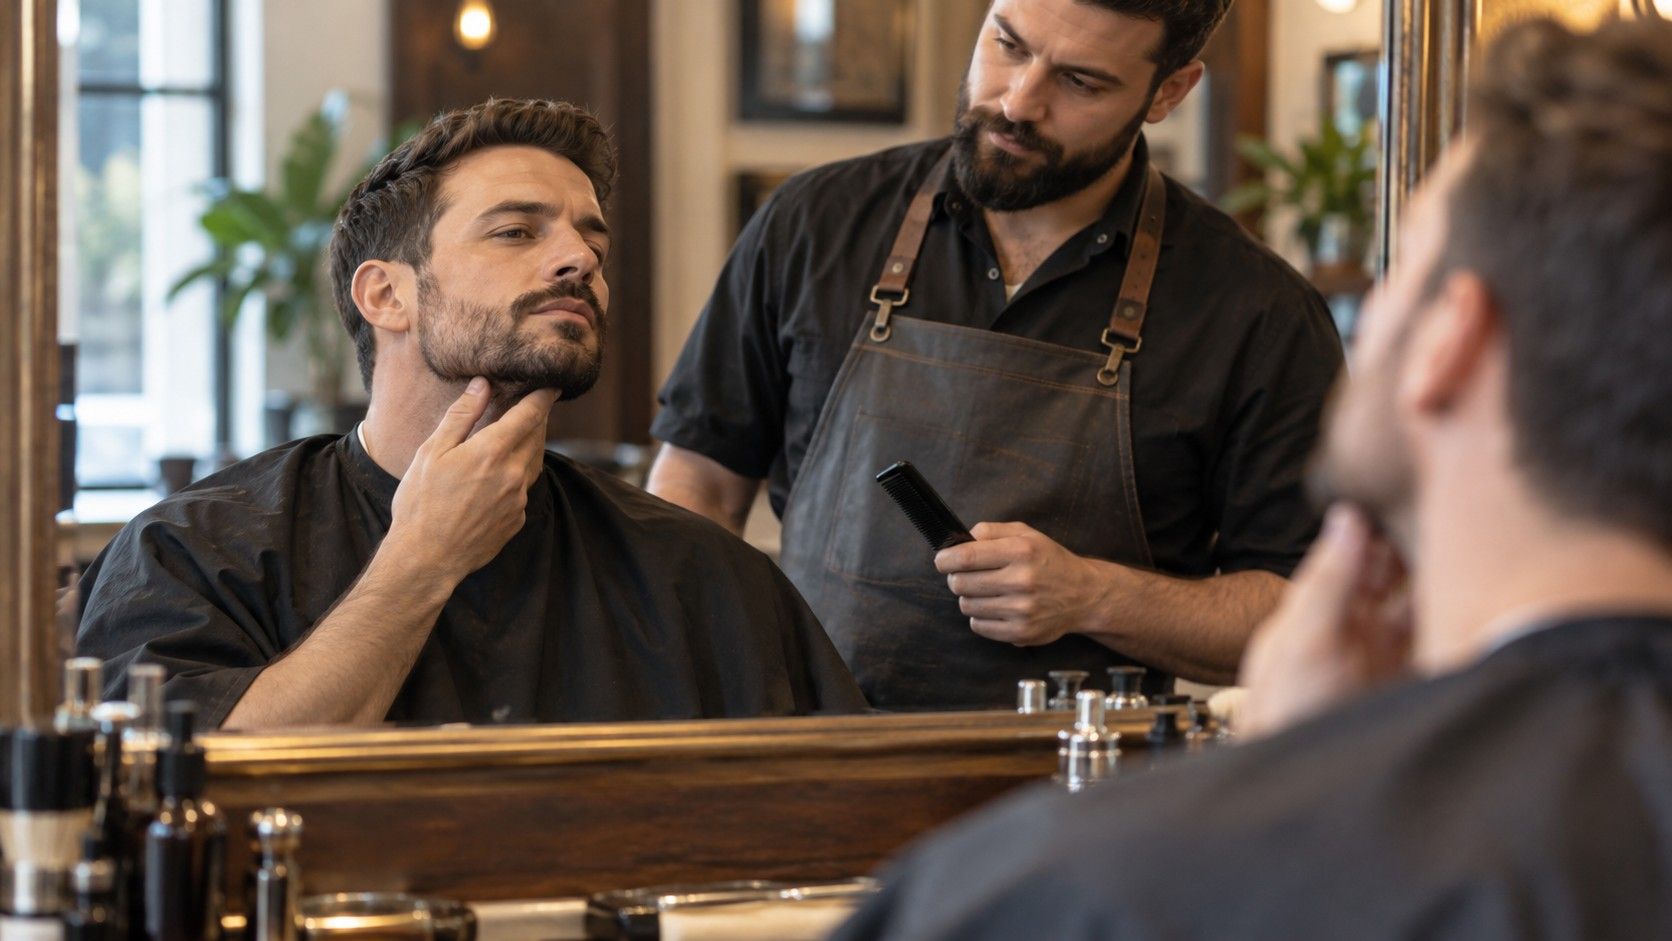
Pull loose hair away from the temples and forehead without stretching the skin. Remove glasses if their rims obscure the cheek or temple landmarks. A fringe can hide the upper boundary, while a beard may conceal the actual chin. Do not silently measure the edge of hair as if it were the edge of the face. If a boundary is uncertain, mark it as uncertain and place more weight on the features you can see.
Use soft, even light from in front of you, such as daylight facing a window. Strong side lighting can make one jaw edge look sharper and the other disappear into shadow. Avoid standing directly under a ceiling light. A plain background with some contrast against your skin and hair makes the outline easier to trace, without needing image sharpening or a dramatic lighting setup.
Compare two photographs before trusting a measurement
Take two or three pictures after resetting your position between them. Compare the face length, the apparent cheek width and the taper toward the chin. If one photograph looks distinctly longer, check whether you raised your chin or changed the camera height. If the widest point moves between pictures, examine the light and head rotation before deciding your cheekbones have a different outline.
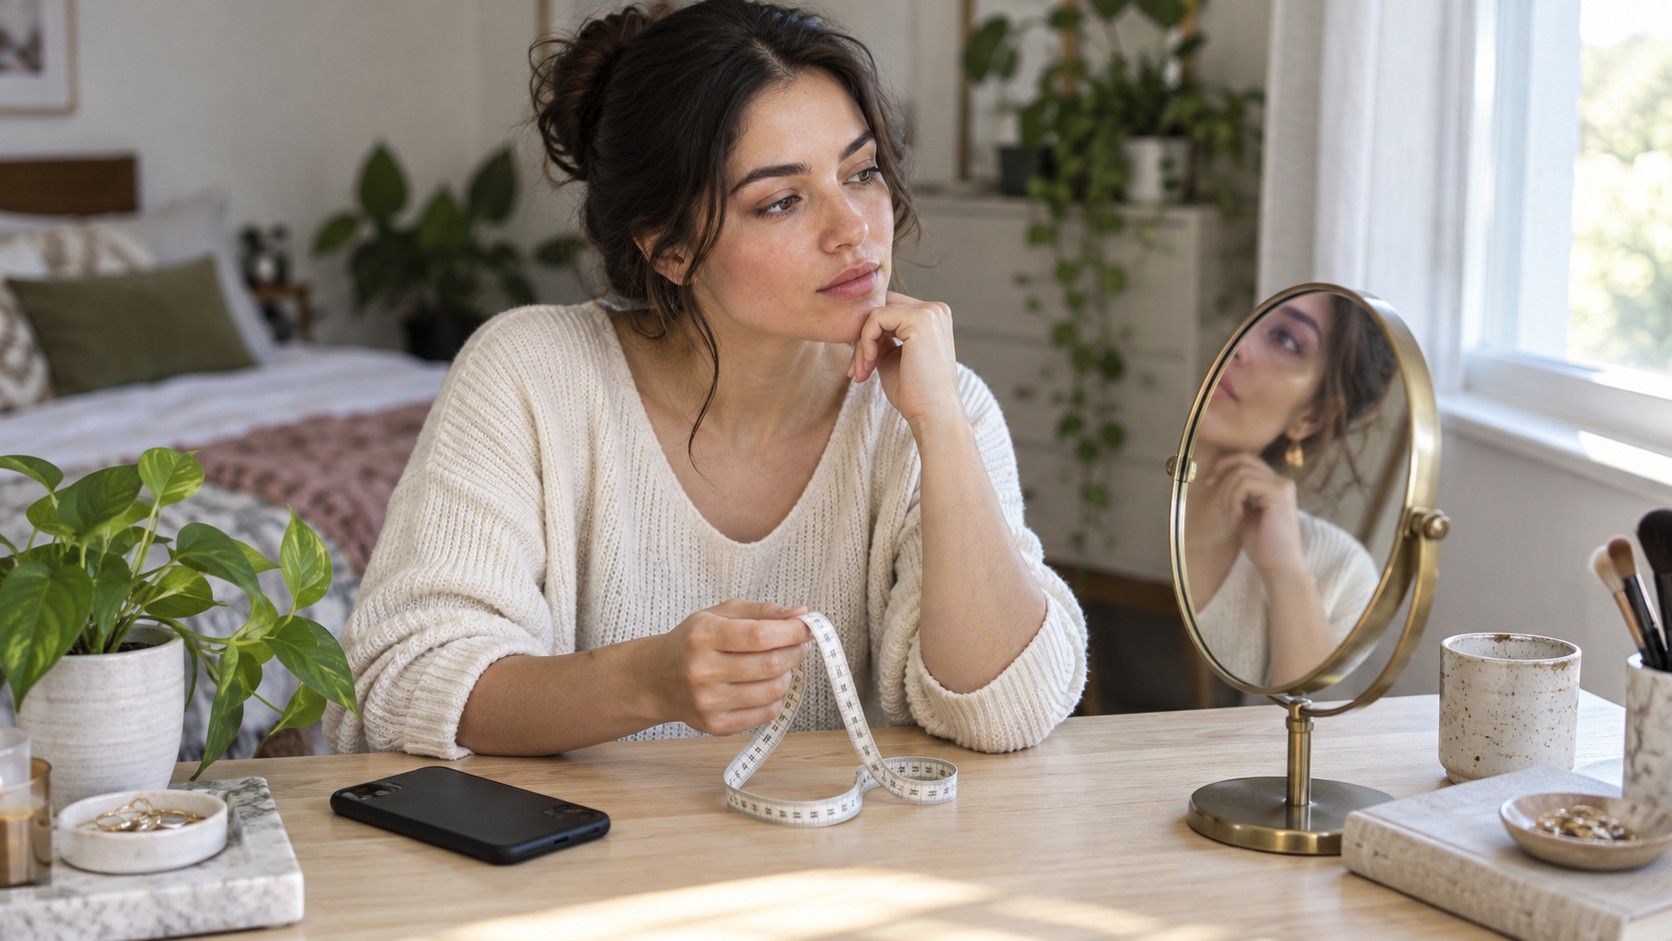
Choose a consistent definition of each measurement. For a front-view comparison, face length commonly runs from the centre of the visible hairline to the bottom of the chin. Cheekbone width is a straight projected distance across the face at the chosen cheek landmarks. These are distances in a flat image, not tape measurements following the skin. A tool may use different landmarks, so read its diagram before comparing its result with yours.
You can record these distances in pixels to compare proportions within a single photo. A ruler beside the screen does not turn them into reliable real-world centimetres. Resizing the image changes every pixel distance, while the ratio between two distances stays the same if the image is scaled evenly. Do not stretch an image to fit a square or narrow upload box; check whether the tool crops the photo or distorts it.
| What changes between photos | What to check first | Useful next step |
|---|---|---|
| The lower face looks much longer | Chin angle and camera height | Retake with relaxed, level head position |
| One cheek looks wider | Head rotation and uneven light | Face the camera and soften the lighting |
| The forehead boundary moves | Fringe, pulled hair or an unclear hairline | Use the same visible landmark and note uncertainty |
| A tool chooses a new label each time | Landmark placement and small input differences | Compare the measured features, then keep a mixed description |
Recognize the limits of a selfie and an automatic result
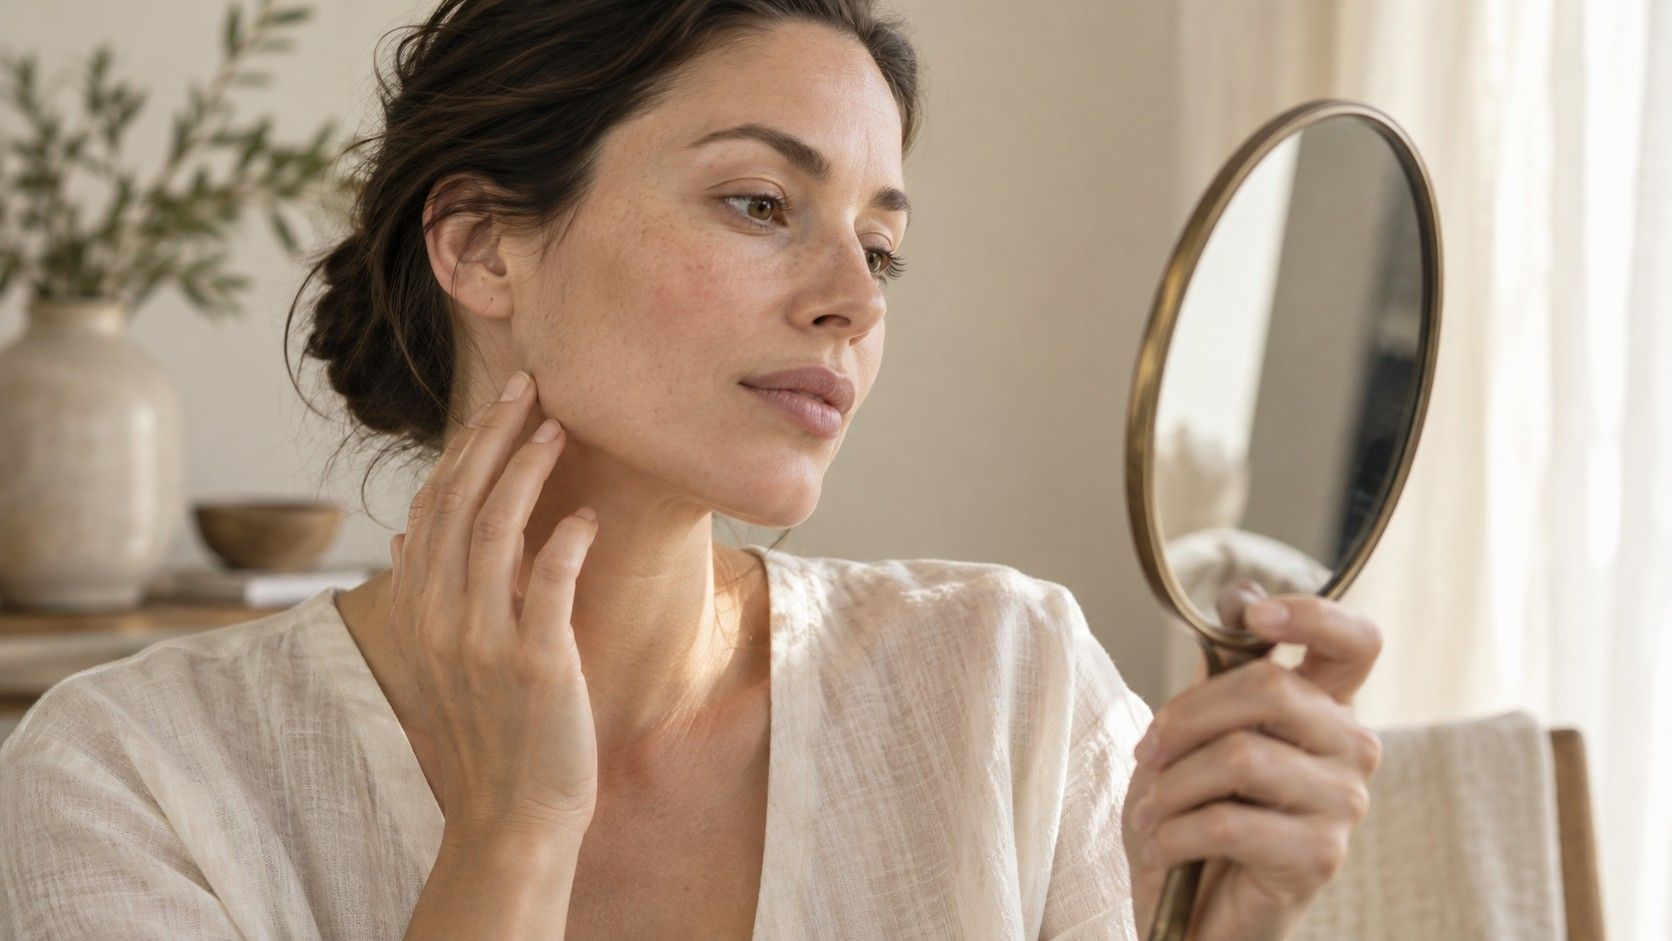
It is possible to estimate face shape from photo evidence without treating the picture as a definitive record. The photograph shows one projection of a three-dimensional face. Cheek fullness, jaw depth and the curve under the chin may look different in a moving mirror view. A strong jaw shadow can resemble an angular boundary, while soft light may hide that same corner. Keep the original image available so you can inspect what a calculator actually measured.
Automatic landmark detection can also put a point on a shadow, hair edge or frame rim. If the tool lets you move the markers, inspect every one instead of adjusting them until you get a preferred label. If it does not show the markers, the result is harder to audit. A confident-looking percentage or a detailed graphic cannot tell you whether the starting boundary was correct.
Expect some overlap between categories. A face may be longer than wide, with full cheeks and a softly rounded jaw; different systems may describe that combination differently. When a small change of marker turns round into oval, write down the shared features instead. Those observations are usually easier to apply to a frame fitting or haircut conversation than a single label presented without context.
Check photo privacy before testing an online tool
Before uploading, look for a clear explanation of where the image is processed, whether it is stored and how deletion works. A claim that analysis happens in your browser is useful only when the service explains that claim clearly; do not assume every calculator works that way. Read whether images may be used for product improvement or other purposes, and choose a different method if the terms leave you uncomfortable.
Use a copy cropped to the area needed for the task. Remove other people, household details, identity documents and location clues from the background. A crop does not necessarily remove embedded metadata, so use your device's sharing or export options to check location information where available. Avoid uploading photographs of someone else without their permission, even when the result seems like a casual styling exercise.
If you prefer to keep the picture local, compare the landmarks in a basic image editor or make a simple measurement note beside a mirror. Save the photo with a neutral filename and delete unnecessary duplicates when you finish. The useful outcome is a reference you can repeat: similar distance, similar light, visible landmarks and an honest note about uncertain edges. That is enough to make the next comparison more meaningful.