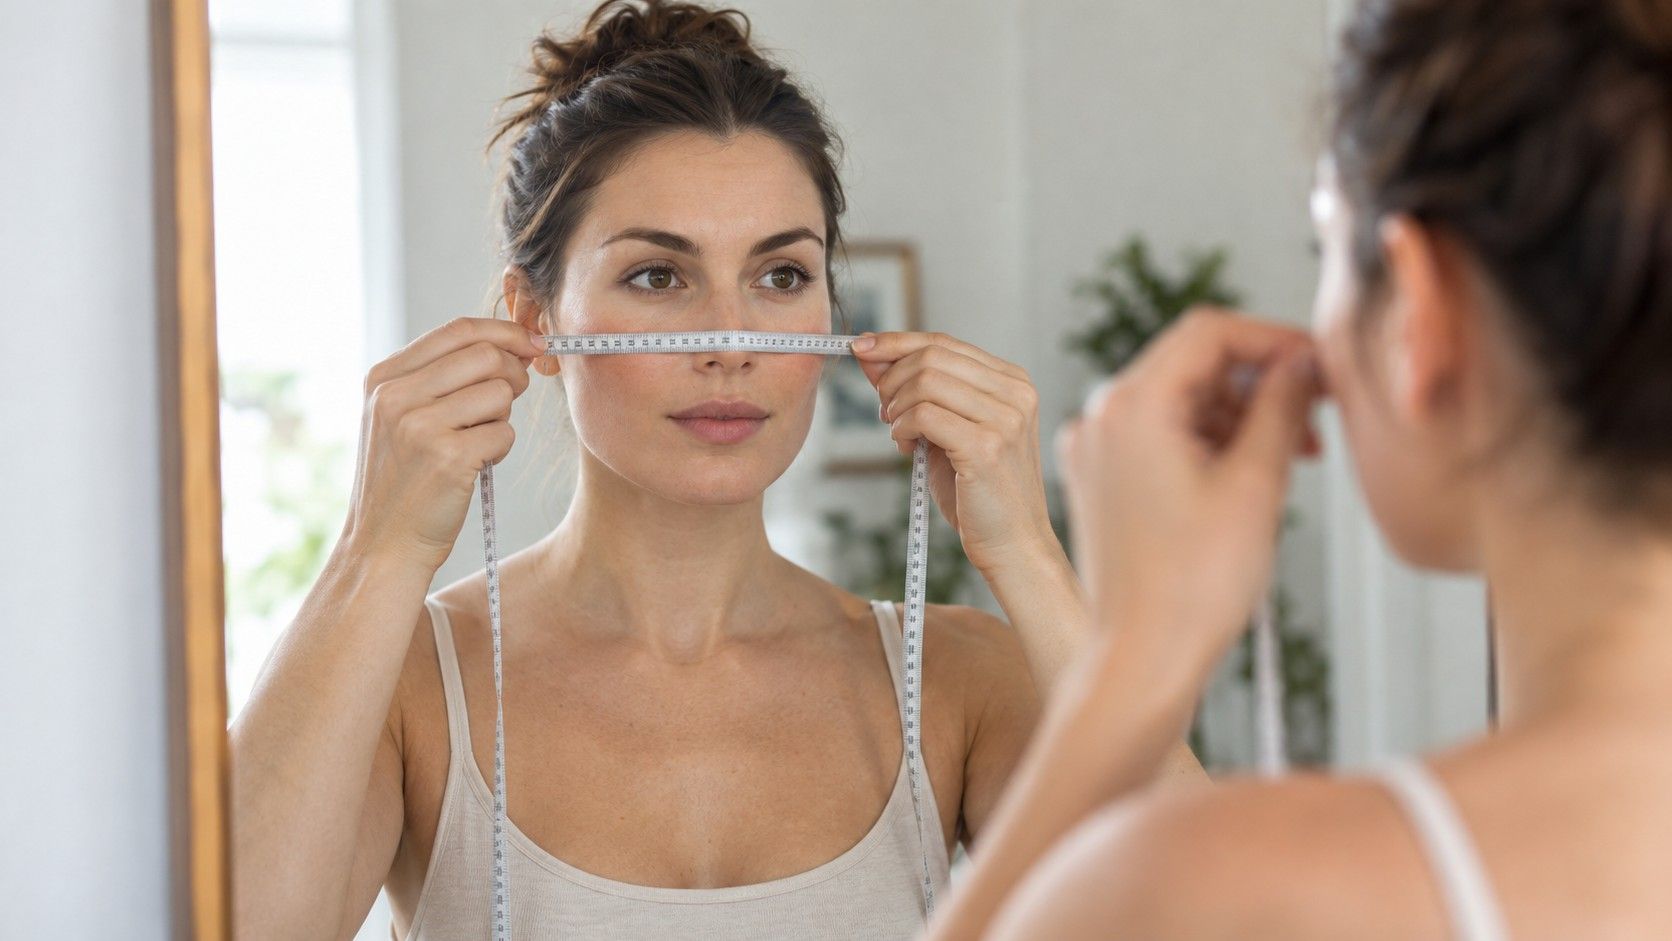
A face shape calculator is easier to use when you trust the measurements going into it. The awkward part is usually the setup: a tape bends around a cheek, a fringe hides the forehead, or a close selfie makes the middle of the face seem larger. You do not need laboratory precision to make a useful styling comparison. You need a consistent view, clearly chosen landmarks, and a record of anything you could not place confidently. Here is how to measure face shape without turning small differences into firm conclusions.
Set up a view you can repeat tomorrow
Pull your hair away from your forehead and the sides of your face. Remove glasses for the measurement, keep your mouth relaxed, and look straight ahead. A raised chin changes the apparent distance to the hairline; a lowered chin can hide the jaw. If you use a mirror, position it at eye level rather than leaning over a bathroom sink. Check that both ears are visible to a similar degree. Perfect symmetry is unnecessary, but a noticeably turned head is a reason to start again.
For a photograph, place the camera roughly at face height and move it far enough away that you are not filling the frame with an outstretched-arm selfie. Use a timer or ask someone to take the picture. Crop the image afterward instead of moving the lens very close. Keep the same camera, distance and position if you repeat it. A different lens or a different viewpoint can alter apparent proportions even when your face has not changed.
Choose even light that lets you see the outline on both sides. A hard shadow along one jaw can look like a narrower jaw in a picture. Portrait effects, face reshaping filters and beauty modes make poor measurement material, so turn them off where possible. Save the unedited image. If your phone applies processing you cannot disable, treat the photograph as an approximate styling reference and check the outline in a mirror as well.
Choose landmarks before you touch the ruler
Face length commonly runs from the central hairline to the lowest point of the chin. Forehead width, cheekbone width and jaw width need more care because calculators may define them differently. Read the tool's instructions first. Some use the widest visible forehead; others ask for a line between particular points. A value is only comparable when it describes the same pair of landmarks. Do not silently change the endpoints halfway through.
A practical forehead measurement uses matching points on either side, above the brows and below the hairline, where the forehead is broadest under your chosen definition. Cheekbone width is the straight span across the widest part of the cheekbone area in a frontal view. Avoid measuring the nose or following the cheeks inward. Jaw width may mean the span between the jaw corners near the ears. Another tool may ask for a chin-to-corner distance and double it. These are different measurements, so label your notes.
Hairlines are not always neat. A widow's peak, recession or very fine hair can make the top endpoint uncertain. Choose a defensible central point and record it, rather than estimating a former hairline. If you cannot identify it, write “hairline uncertain” next to the length. A calculator cannot remove that uncertainty by displaying a tidy decimal. For a beard, look for the underlying jaw in the mirror; the beard's outer edge measures the grooming shape instead.
Keep width measurements straight, not wrapped
A flexible tape is convenient, but it easily follows the surface of the face. That curved route is longer than a straight frontal span. This matters most across the cheekbones and jaw, where the tape can ride over the nose or chin. If the calculator expects widths from a photograph, use the photograph for every dimension. Mixing a tape measurement around the face with a straight line on an image creates a set of numbers that does not share one method.
On a frontal photograph, use a simple image ruler or draw straight lines between your chosen endpoints. Pixel values work for proportions when all measurements come from the same image. You do not need to convert them into centimetres to compare length and width. Do not resize the image in one direction only. Stretching the picture sideways or vertically changes the very relationship you are trying to inspect.
If you prefer physical measurements, use a helper and follow the calculator's stated method. Keep any ruler safely away from your eyes, avoid pressing into skin, and do not use a sharp measuring tool. You can mark approximate endpoint positions on a printed photo instead of holding a ruler across your face. Whatever method you choose, write the unit and the method at the top of the page. That small note prevents confusion when you return later.
| Measurement | Useful check | Common source of confusion |
|---|---|---|
| Face length | Use the same central hairline point and chin tip | Changing the hairline estimate between attempts |
| Forehead width | Keep the endpoints level and match the tool's definition | Including hair or using temple points from another method |
| Cheekbone width | Compare the widest cheekbone area in a straight frontal view | Following a tape around the nose and cheeks |
| Jaw width | Record whether you used corner-to-corner or a doubled side length | Treating those two methods as interchangeable |
Repeat the measurements before choosing a label
Take each dimension twice, placing the endpoints again rather than simply rereading the same line. If the second value differs, inspect the landmark that moved. A cheekbone point selected too high may actually sit near the temple. A jaw corner hidden by hair may have been guessed. When the outline is difficult to judge, a third attempt can show whether you have a repeatable estimate or a point that remains uncertain.
Keep a modest level of precision. On a small phone photo, reporting a width to several decimal places makes the result look more exact than your endpoint placement allows. Record a sensible rounded value or a small range. For example, if two cheekbone readings are 140 and 144 pixels, note both rather than deciding that one is the true width. These are example readings, not boundaries between face shapes.
Now compare the dimensions within your own record. Is length clearly greater than cheekbone width? Is the forehead wider than the jaw by an obvious margin, or are they close enough that your endpoint uncertainty could reverse the order? A meaningful difference should remain visible when you move an uncertain landmark a little. If the label changes with a tiny adjustment, keep two plausible descriptions and focus on the proportions they share.
Bring the outline back into the decision
Numbers describe spans, but they cannot fully describe the route between them. Two faces with similar widths can have a softly curved jaw or a more angular jaw, a rounded chin or a narrower chin. Look at the frontal image after measuring. Trace the outline with your eyes from temple to cheekbone to jaw, without letting a haircut or beard fill in the boundary. The shape name should make sense alongside that outline.
For glasses, use the measurement result to understand visual width and length, then try actual frames. The bridge should sit comfortably, the temples should not pinch, and the frame should stay in place when you look down. A label such as oval or square does not predict those fit details. If you like a wider-looking frame, compare two styles in the same size range so you can see the effect of the outline instead of confusing shape with poor fit.
For a haircut, carry the photo and a plain description to the appointment: “my cheekbones are the widest part” or “my face looks long relative to its width.” That gives a stylist something concrete to discuss. Decide whether you want more height, more width at the sides, or a clearer jaw outline. Your preferred effect matters. A calculator is useful when it helps you explain that choice, even when it cannot settle on a single face shape.