A broad-looking jaw does not automatically settle your face shape. The useful comparison is whether the lower face looks wider than the cheekbone and forehead areas when you use consistent landmarks and a relaxed front view. In common styling language, triangle face shape often describes that lower-width emphasis. Before changing a haircut or choosing frames, check what you measured, how you posed and whether hair or a beard created part of the outline. The goal is a description you can use, rather than a label to defend.
Compare the jaw with both the cheeks and forehead
Pull loose hair away from the temples and stand facing a mirror, or take a level photograph from a comfortable distance. Find the widest visible area in the upper face, the cheekbone region and the lower jaw. Compare all three. A jaw wider than forehead can support a triangle description, but the cheek width matters too. If the cheeks are clearly widest, another description may explain the outline better.
Look at the transition between these areas. Does the face gradually widen toward the jaw, or do the sides stay fairly similar in width? The first pattern can read as triangular; the second may look more square or rectangular, depending on length and contour. Natural faces rarely draw the straight edges of a geometric symbol. A rounded jaw can still contribute to a lower-heavy outline without sharp corners.
Forehead width is particularly easy to misread. A narrow fringe gap is not the full forehead, and the outer edge of swept-back hair is not a skin landmark. Identify matching points near the temples using the same definition on both sides. If the hairline or temple boundary is hard to locate, keep the comparison tentative rather than treating a guessed width as a firm result.
Some styling systems use “triangle” and “inverted triangle” differently or group the latter with heart-shaped faces. Read the diagram instead of relying on the name. Here, triangle means a face that appears broader toward the lower jaw; a broad forehead tapering toward a narrower chin is the reverse direction. Establishing that distinction avoids following advice written for an entirely different outline.
Measure the jaw with one method from start to finish
A front-view photo lets you compare the projected width between the outer jaw corners with the projected cheek and forehead widths. Place the points on the visible face rather than on hair, shadow or a beard edge. Keep the mouth relaxed. You do not need real-world centimetres to compare widths within the same image, provided the image has not been stretched and all points use a consistent view.
Another method measures from a jaw corner toward the chin along the skin, sometimes doubling one side to estimate a total. That curved path is not equivalent to the straight width across a photograph. It may be useful within a system designed around that method, but do not mix its result with projected cheek width and expect a meaningful comparison. Check a calculator's landmark instructions before entering your numbers.
Take each measurement twice, locating the points again rather than leaving the first marks in place. If the jaw and cheeks are close, keep a range that reflects those small placement changes. A difference that disappears when you move a marker slightly is weak evidence for a category. There is no universal percentage by which the jaw must exceed the forehead before every styling system calls the face triangular.
I would save the method beside the result: front photo, neutral expression, jaw corners compared with cheek landmarks and temples. That short note makes the next attempt comparable. A bare number in a phone note is easy to misuse later because you may forget whether it followed the skin, crossed a flat image or included the beard.
Separate the outline from clenching, pose and grooming
Relax your teeth and avoid deliberately flexing the jaw for the picture. Clenching can change the visible lower-face contour, so it gives a poor baseline for an everyday styling comparison. A broad smile also changes the cheeks and lower face. Keep a neutral reference image, then use a smiling one separately when checking whether glasses touch your cheeks or move out of place.
Turn directly toward the camera. Even a modest rotation makes one side look narrower and can conceal the opposite jaw corner. Keep the phone near face height, move back and crop later. Close selfies and chin tilt can alter the apparent relationship between upper and lower face. Take another photograph after resetting your position; recurring proportions deserve more weight than one striking frame.
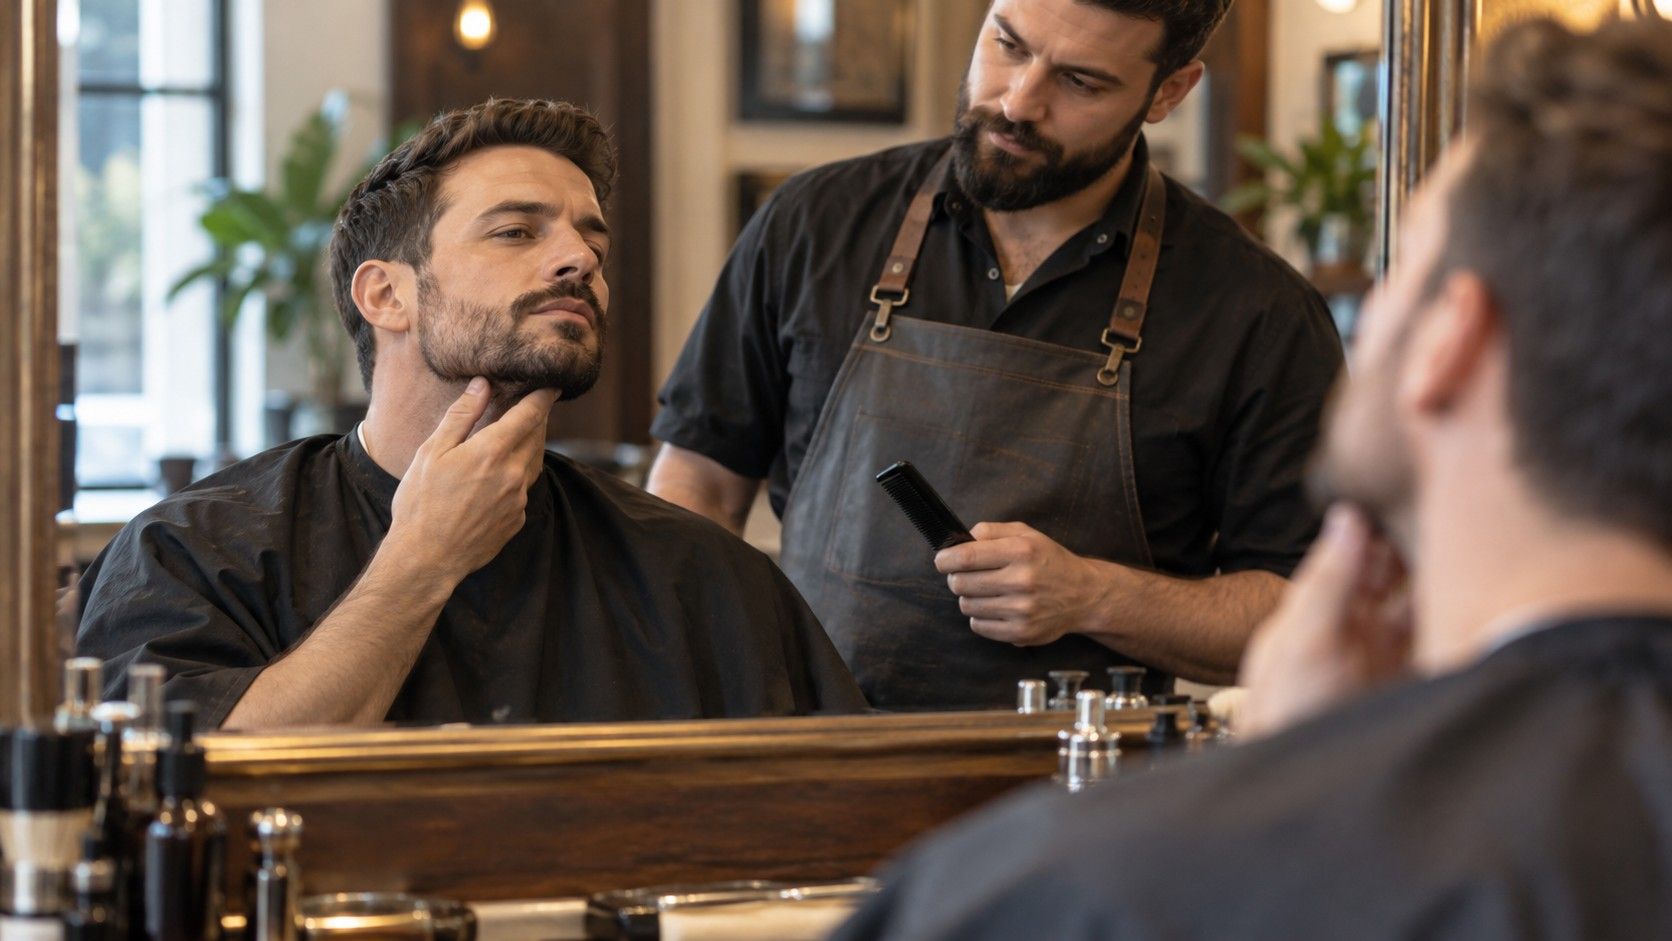
Beards can add substantial width at the jaw, and sideburns can visually connect that width to the temples. If you are describing the visible grooming silhouette, include it deliberately. If you want to compare the face itself, use what you can actually see and note any hidden boundary. Do not guess the underlying chin from the longest beard hairs. Hair pulled tightly away from the temples can also make a narrow upper outline more noticeable.
Lighting matters at the jaw corners. A hard shadow may look like the edge of the face, while an overexposed cheek can disappear into a pale background. Soft light from in front and a contrasting plain background make the boundary easier to follow. This is a practical photo setup, not a way to assess the anatomical reasons for someone's facial width.
Distinguish a broad lower face from square and oblong patterns
When forehead, cheeks and jaw appear broadly similar in width, a square description may fit an angular outline better than triangle. If the face is also noticeably long, some systems may call it rectangular or oblong. The key is to consider length and contour alongside the widths. A prominent jaw corner alone does not tell you whether the lower face is actually the widest region.
A diamond description usually emphasizes the cheekbone area with narrower upper and lower boundaries. Heart or inverted-triangle descriptions usually emphasize the upper face tapering toward the chin. These comparisons help you locate the direction of width; they are not mutually exclusive scientific classes. Full cheeks, an uneven hairline or a soft jaw contour can produce an ordinary mixture of features.
| What the front view suggests | Useful descriptive direction | What to check next |
|---|---|---|
| Jaw broader than temples and cheeks | Triangle or lower-width emphasis | Confirm relaxed jaw and visible skin boundaries |
| Upper, middle and lower widths are similar | Square or rectangular tendencies | Compare overall length and jaw corners |
| Cheek area clearly widest | Cheekbone emphasis | Inspect taper above and below the cheeks |
| Forehead broad, chin narrow | Heart or inverted-triangle tendencies | Check the system's terminology and hairline definition |
Test hair and glasses against the proportions you have
If you want more visual width above the jaw, experiment with some volume near the temples or upper sides. A very tight-sided style may emphasize the difference between a narrow upper face and broad lower outline. That can be an effect you enjoy. Before cutting, use your hands or clips to change the silhouette roughly and see which version you prefer in a front and three-quarter view.
Texture and growth direction limit what a haircut can do without daily effort. Bring a stylist a description such as “my jaw reads wider than my temples, and I want more shape near the upper sides.” Show the finish you like and explain how much time you spend styling. This is more actionable than requesting a generic triangle-face haircut that assumes a particular hair type and length.
For glasses, compare frames with some emphasis along the upper rim against lighter, more evenly weighted designs. A strong brow line can draw the eye across the upper face, while a rounded outline can echo a softer jaw. Neither is compulsory. Start with a bridge that stays comfortable and temples that do not press; the frame should not need an exaggerated width merely to satisfy a face-shape chart.
Try the frames while smiling and looking slightly to each side. Check whether they rest on your cheeks, slide down or feel unstable. Wear your usual hair and beard for this test because that is the silhouette the glasses will accompany. Take a plain comparison photo if helpful, then choose according to fit and the emphasis you like. A broad jaw is a feature to work with, not a flaw that requires correction.